Even the most amateur of scientists can make their own alum crystals, and the best part is that alum is completely non-toxic.
If you want to make crystals with your kids, this is one of the best choices if they’re not old enough to make copper sulfate crystals at home (see also ‘How Do You Grow Copper Sulfate Crystals‘).
Crystals are pretty easy to grow, but you’ll need to have patience when you want to make a finely crafted crystal. If you want to make a good one, it should take you around two weeks to grow a good one, if done correctly.
In this article, we’ll explain what you need to grow your own alum crystals, and how you can go further with your experiments.
But first, let’s explain what alum actually is.
What Is Alum?
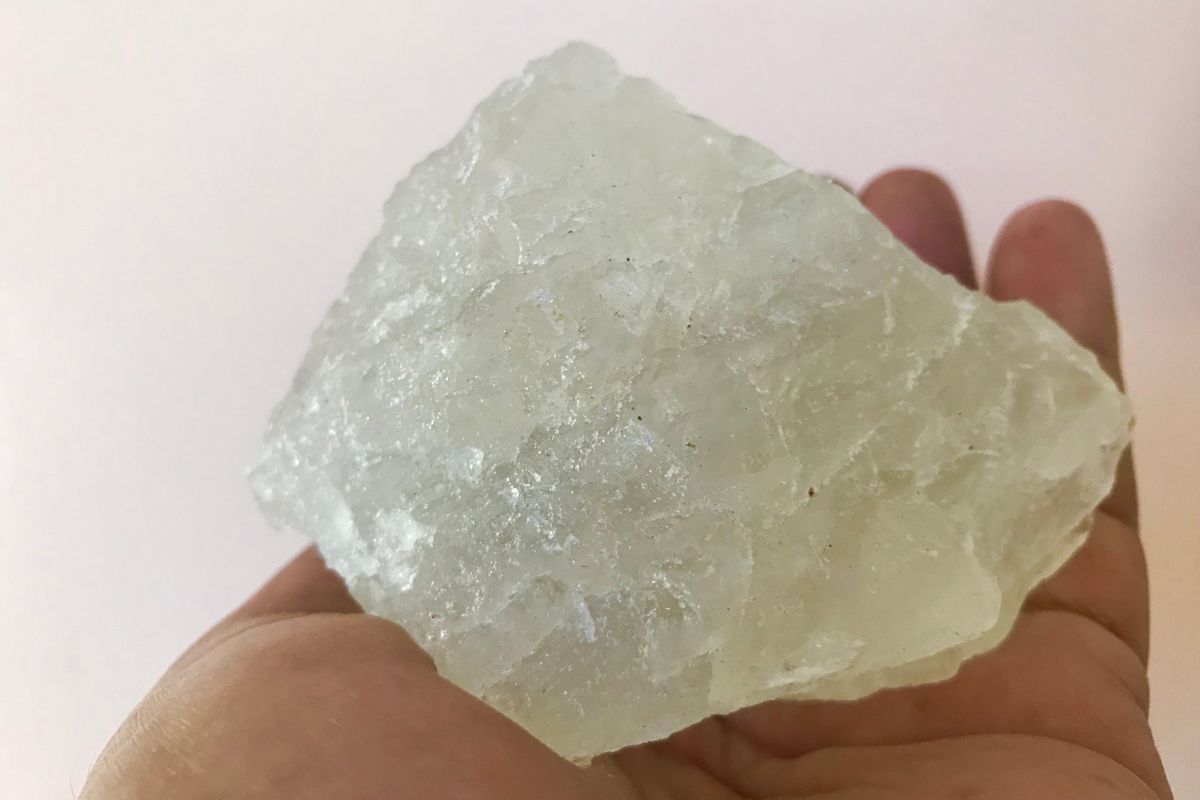
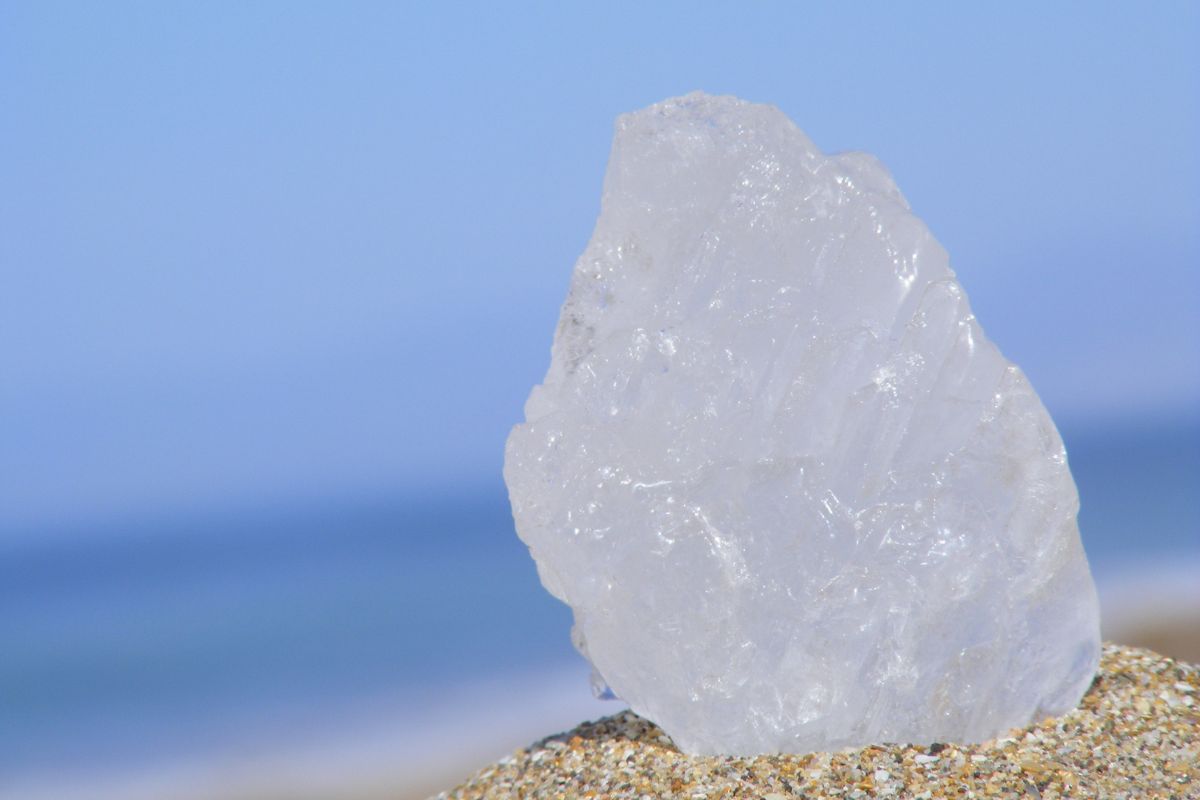
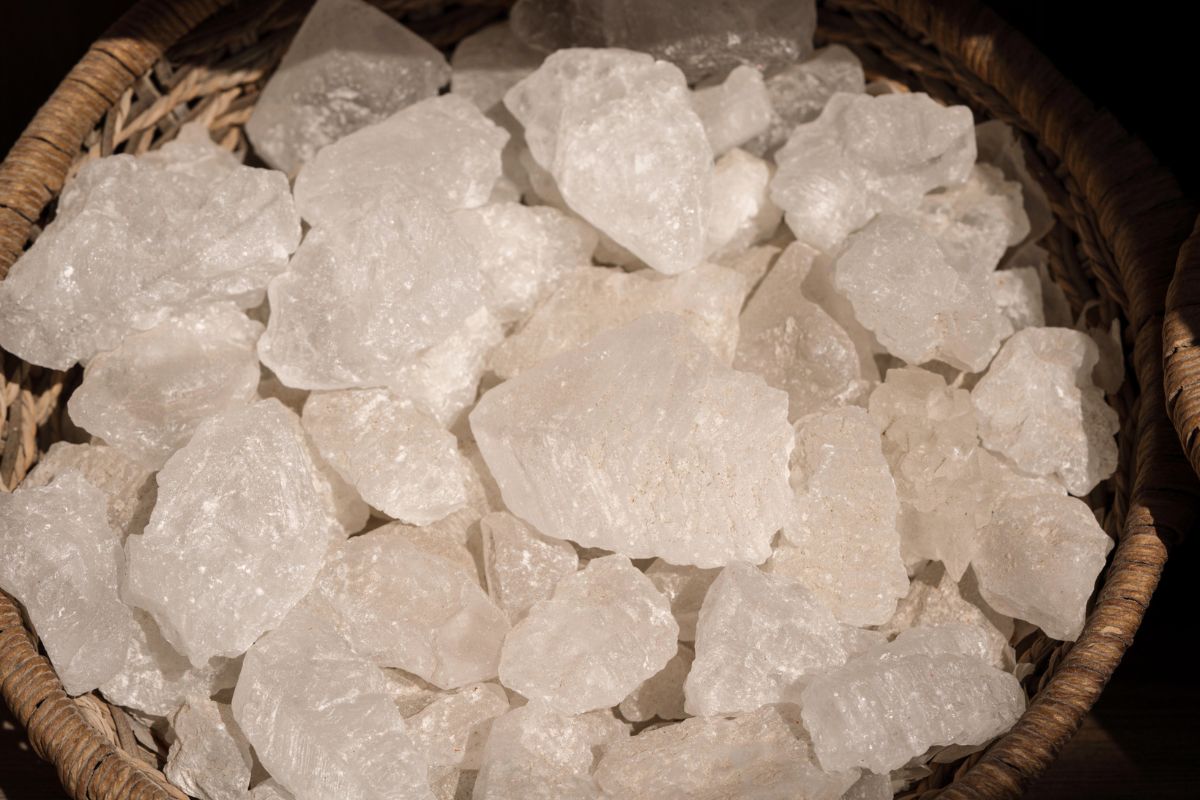
There are many different types of alum with the most commonly known being potassium alum. Potassium alum is the hydrated form of potassium aluminum sulfate, and is often sold as a powder.
When you see alum, you’ll most likely find it with kitchen spices or other pickling ingredients, but you may also find it in the form of a large crystal.
This crystalized form is known as a deodorant rock, which you can use on your underarms.
Other forms of alum include:
Soda alum, which is a type of compound used in baking powder, and also works as an acidulant in food.
Ammonium alum, which is used in a similar manner to both potassium alum and soda alum. However, it can also be used on textiles. It is used to tan, dye, and make them flame retardant. It is also used to assist in the manufacturing of cement, vegetable glues, water purification, and some deodorants.
Chrome alum is often used in tanning and can also be added to other alum to grow purple crystals.
Selenate alum contains selenium, and so they can be used in antiseptics due to having strong oxidizing properties.
Aluminum sulfate is technically not an alum, but it is often regarded as one.
As you can see, there are many different types of alum that have a wide range of uses. They can be used in manufacturing projects, in kitchen ingredients, and have many more uses.
But one of the most prevalent uses is when you make crystals using either potassium alum or chrome alum.
What Materials Do You Need To Grow Alum Crystals?
You only need a few materials to grow your own alum crystals, which is why they’re such a fun and fascinating experiment for children. All you need for this experiment is:
Alum Powder — You need this to grow your crystal
Water — To mix with your solution
Coffee Filter — To get rid of any dust
Jar/Cup — To mix the solution
String — If you want to suspend the crystal for growth
Petri Dish — So long as the dish isn’t made of metal, a Petri dish should suffice
As you can see, you don’t need too many materials to make your solution.
How Do You Grow Alum Crystals Safely?
Alum crystals are one of the easiest crystals to make, and the reason they’re so easy to make is because they’re non-toxic.
You don’t need to worry if you get anything on you, but either way, we recommend that you be careful of any hot materials.
As a general rule, we recommend not getting any alum powder in your eyes, but if you do get alum powder in your eyes, we recommend washing them immediately.
While accidentally ingesting alum won’t kill you, it may still cause stomach pain and constipation, so it’s best to not ingest any of it.
All you need to do is make alum crystals sensibly, and remember to wash your hands after handling anything.
How Long Does It Take To Grow Alum Crystals?
It will only take a few days for small alum crystals to grow. However, it will take a longer amount of time if you wish to grow a larger crystal.
If you want to grow a larger crystal it can take up to a month, while the preparation itself won’t take long.
The greatest challenge of growing any crystal is the waiting time it takes for them to grow.
However, this does depend on whether you have chosen the perfect environment to grow your crystals. So long as you have chosen an undisturbed environment, your crystals will grow according to plan.
Growing Your Own Alum Crystals
Now that we’ve discussed what you need to grow your own alum crystal, it’s time to grow your own. Please keep in mind that these are only for basic alum crystals, and if you would like to grow others, then please continue to read on.
In later sections, we’ll explain how you can grow a larger crystal, how you can make an alum geode, and how to grow your crystals using chrome alum. Now, let’s begin with our solution.
Please remember that when you make your alum crystals, you should cover the top of your jar or cup to ensure that no dust particles will get inside.
If dust particles get into the solution, your crystals may not grow in the way you want them to, and you may have to start over.
Preparing The Alum Crystal Solution
The first and most vital step to growing our alum crystal is to prepare the solution. If you want an example of how the solution works, we consider checking out salt water solutions.
When the salt solution evaporates, it leaves behind salt crystals, with alum crystals working in a similar manner. As your solution evaporates, alum crystals will be left behind.
To make your solution, you will need 500 ml of hot water. You’ll need to ensure that the water isn’t boiling, and then scoop in 60 grams of alum powder.
Let the alum powder dissolve. To speed up the dissolving process, we recommend that you stir the solution until there are no solids left.
Next, you’ll need to pour your solution into either a cup or a jar, but pour it through a filter funnel, using a coffee filter to remove any dust particles.
If you don’t have a coffee filter, then you can also use a tissue instead. You can get rid of the coffee filter when you’re done, and just leave the solution to cool until it’s at room temperature.
Growing Your Alum Seed Crystal
Once your solution has cooled to room temperature, we need to sprinkle a few grains of alum powder into your solution. When you do this, you’ll find that some miniscule crystals will already be starting to form after half an hour.
Instead of growing these crystals, you should leave your solution to rest for two days in an undisturbed location. If you do this, you’ll finish the experiment with even better results.
After two days, pour 50 ml of your alum solution into your Petri dish, and the rest into a fresh jar or cup.
We recommend not including the crystals that have formed at the bottom into the new container, and instead, you should leave those behind.
Like before, you should leave both the dish and jar in an undisturbed area, and leave them for a small number of days. After a minimum of three days, we recommend returning to observe the crystals.
You may find that the crystals have grown to the size of half a centimeter. Now that you’ve seen your crystals, it’s time to let them grow and develop.
To do this, you need to tie your alum seed crystal to a string, and suspend it by tying it to a pencil and putting it over your jar.
However, you can also take your crystal from your Petri dish and place it at the bottom of your jar, where it will rest and grow in peace. But now you may be wondering, how can you make it grow even larger?
How To Make A Large Alum Crystal
You can make a pretty good-sized crystal by leaving it in an undisturbed location in your house. However, you may be wondering how you can make an alum crystal even bigger?
You’ll be able to observe its growth as you leave it in the solution.
However, the type of crystal you choose to make a large one is important too. If you read our article on copper sulfate crystals, you’ll understand that you should choose a single crystal that hasn’t almost merged with others.
Your alum seed crystal will grow as the solution evaporates, and more alum particles will arrange themselves around the crystal.
It’s easy to observe this happening if you’ve attached your crystal to a piece of nylon string, but you can always leave it at the bottom of your jar too.
There’s no set time to say when you are done, but the most important aspect is that you have a large enough container to hold your crystal as it grows.
You’ll want to take it out when it’s done, so you should stop growing it when the solution has decreased so much it will be exposing the alum crystal to air.
Alum crystals shouldn’t be exposed to air while they’re also in the solution. If you don’t keep an eye on the water level, you may find that you will have less-than-desired results.
The crystal itself will have a rougher and duller shape, as opposed to the smooth and clear result that we would prefer.
How To Store Your Alum Crystal
Once you’re satisfied with the size of your alum crystal, you should remove it from the solution. If you don’t want to accidentally get fingerprints on it, we recommend wearing gloves when handling your crystals.
You should wear gloves because you can’t actually wash your crystals, as they have water molecules inside them, so any exposure to water will dissolve them.
Naturally, this also means that your crystal may turn white over time as the water dries out. That’s why you need to store your crystal correctly.
There are two ways to do this, you could either coat your alum crystal with nail polish, which will protect them for a few months, or put them in an airtight container.
If you put them in an airtight container, you should also include some alum powder. The alum powder will disintegrate in place of the water, and so your crystals will be in a stable environment.
To protect your crystals, it’s essential that you handle them carefully. They aren’t the easiest of crystals to store away, and while they’re not really fragile, they can crack if they’re hit too hard.
Therefore, we don’t recommend you use them for jewelry, but if you want some inspiration for what to do with your alum crystals, we have an entire section dedicated to that later on.
Adjusting Your Alum Crystals
You can always make more alum crystals and adjust the sizes of them in a way you prefer. If you want a different colored crystal, then there are ways to do this.
If you want a purple crystal but you don’t have access to chrome alum, you can use purple food coloring instead. Of course, you can also use food coloring with any other crystals you make too.
It doesn’t matter what color you choose, so long as it’s one that you like. If you do want to change the color of your crystal, make sure you add the food coloring to your solution at the beginning of your project.
How Do You Make A Chrome Alum Crystal?
Similarly to normal alum crystals, chrome alum crystals are non-toxic, so you should use similar safety precautions that we used previously when making normal alum crystals.
The main difference between chrome alum crystals and normal alum crystals is their color. Chrome alum crystals are purple, while normal alum crystals are transparent.
When making your chrome alum crystals, it’s essential that you understand that these crystals are made with the same materials as you would normally use. The only major difference is the use of chrome alum powder instead.
However, you can also include normal alum crystals to ensure that your solution isn’t too strong a color.
Yet, along with the strong color, we recommend you wear gloves while performing this experiment, to ensure that your hands won’t be stained purple.
Where To Get Chrome Alum
You can get chrome alum from a variety of different places, but it’s not as easy to come across as normal potassium alum. It is easiest to find it in an online store, but you may also be able to find it if you live by a local leather tannery.
Preparing Your Solution
To make your chrome alum solution, you will need to measure 60 grams of chrome alum in 100 ml of hot water that isn’t boiling. The alum will begin to dissolve, and you can stir to speed up the process.
Your solution should be fine when it is a blue-green color. Don’t worry about the solution not being purple, as the crystals will eventually emerge with a purple color.
You should filter your solution using a coffee filter and a funnel to ensure that there isn’t any dust gathering in your solution. Pour it into a separate cup, and wait until it’s cooled down to room temperature.
Growing Your Chrome Alum Crystal
Once it’s cooled down, you should pour a bit of your solution into a Petri dish, and the rest of your solution into another cup.
If you leave it for a short while, the crystals will begin to form, and when they have, you should pick the best one to tie to a string.
You can either tie it to a string, or place it at the bottom of the jar of your solution. Once you’ve done this, leave the solution in a place that won’t be disturbed until the crystal grows.
Much like the original alum crystals, you can leave it in the solution until it’s reached a size that you are happy with. Then, remove it with a paper towel, or by wearing gloves to prevent your own hands from getting purple stains.
As you can see, there are no major differences, and you’ll be able to enjoy a selection of different alum crystals that you can make at home.
Getting Creative With Alum Crystals
Due to how easy it is to make alum crystals, it’s no surprise that you can use them for a variety of art projects.
Many people often grow their alum crystals on other objects such as rocks and dead insects, however, another popular choice is growing them on eggshells.
When you grow alum crystals using eggshells, you can create an alum geode formation.
Making An Alum Geode
To make your own alum geodes, you need to ensure that you have all the equipment we mentioned earlier in the article, with the addition of an eggshell, a paintbrush, and some glue.
Make sure you’ve washed the eggshells and that you’ve got a jar large enough to hold your eggshells.
You need to paint the glue onto your eggshells, but you won’t need to use too much. It will only need a thin layer so that the alum can attach to the surface.
Before the paint dries, you should start sprinkling your egg with powdered alum, and will serve as a base for the crystals to grow in the jar.
To have larger crystals, you should sprinkle the alum powder lightly so there is more space for the crystals to grow. Once you’ve done this, you should leave your eggshells to dry overnight.
In the morning, you should make your alum solution. Fill your jar with hot water, and make sure you use enough that your eggshell is fully coated and immersed.
Add a tablespoon of alum and dissolve it, and just keep adding until it’s dissolved in the water. For exact measurements, we suggest you use a similar amount to what we included in previous sections.
Once no more alum can be dissolved, we suggest adding food coloring now if you want to change the color of your geode crystals.
Once your solution has cooled to room temperature, you should put the egg in your jar. Ensure that it’s covered so that there aren’t any dust particles that can immerse itself in the serum.
You should let your eggshell rest in the solution for a minimum of 24 hours. If you want to check how it grows, you should have a look at your solution by shining a flashlight on it, so that you don’t disturb the crystal’s growth.
It’s best not to touch your jar too much when you are checking on your eggshell, and instead, you should keep it in an undisturbed area.
When you’re happy with the growth of the crystals, you can carefully pick up your eggshell crystal and remove it from your solution, and it should have geodes inside of the egg.
You can adjust their colors and make different art pieces with them, and you can even make your own geodes.
If you have kids, this is one of the safest compounds you can use to make your own crystals. So, have fun making your own crystals in the comfort of your own home.
If you’re interested in making more crystals, we recommend trying it out with some other chemicals.
You should consider reading our other guides to get inspiration, and consider adding some more of these crystals to your collection. Remember to store them safely and correctly, and you’ll be sure to enjoy these crystals for many days.
Hi, my name is Andrea Daehma and I have been collecting and using crystals in my everyday life for just over six years now.
I have my own collection of crystals gracing my house, several for every scenario I could think of.
Learning about crystals has truly changed my life, and I want to help others turn their life around too. Please enjoy my website and find your own small stone to begin your crystal journey with!