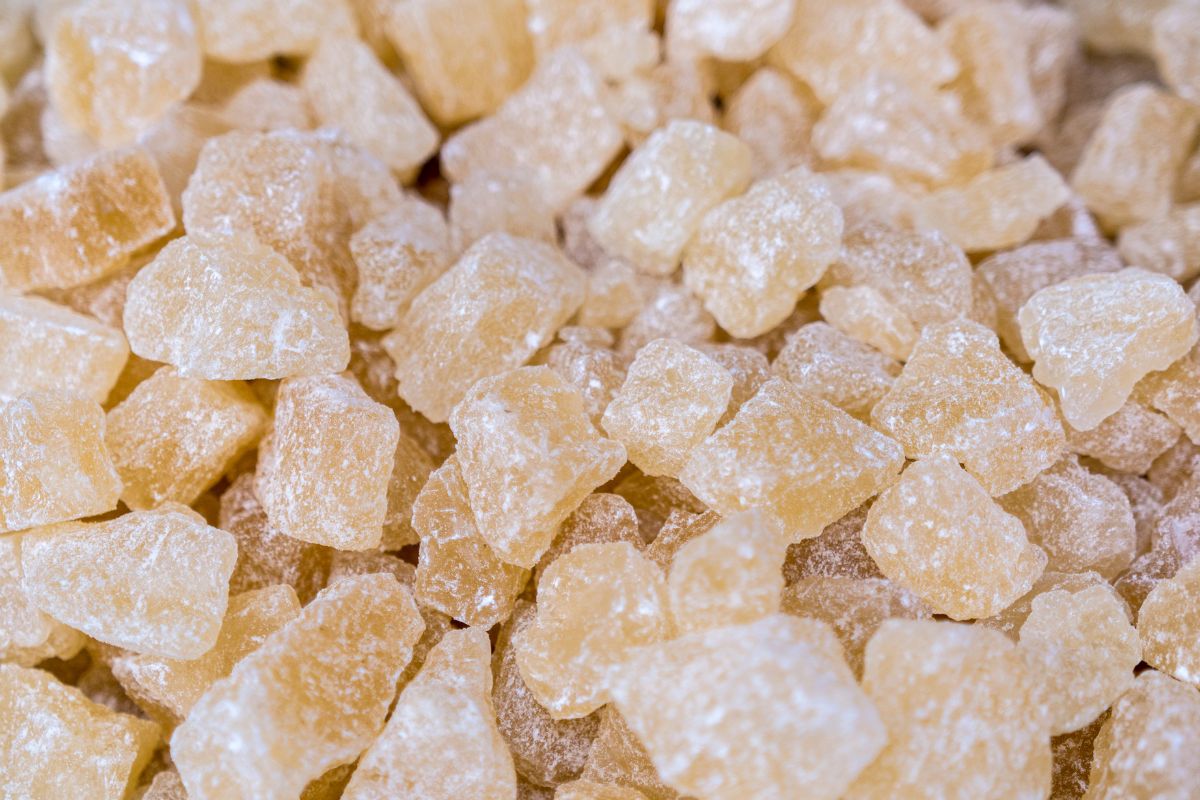
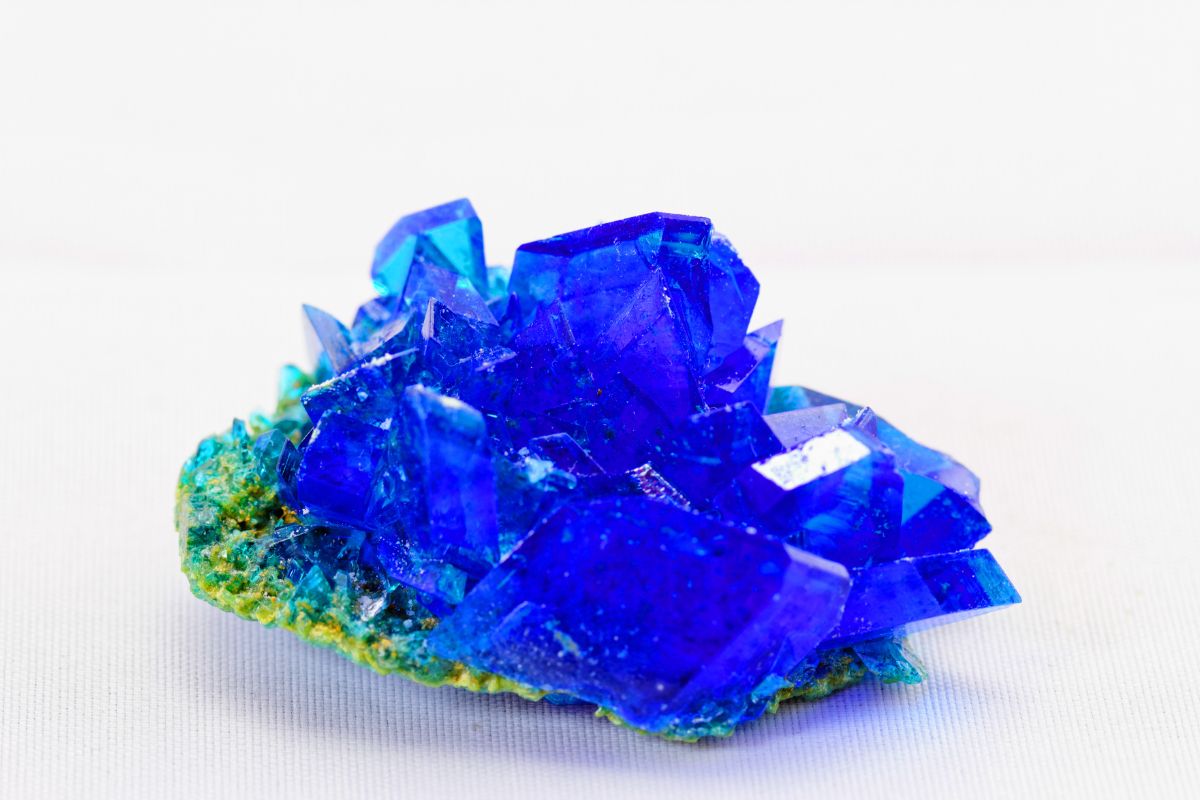
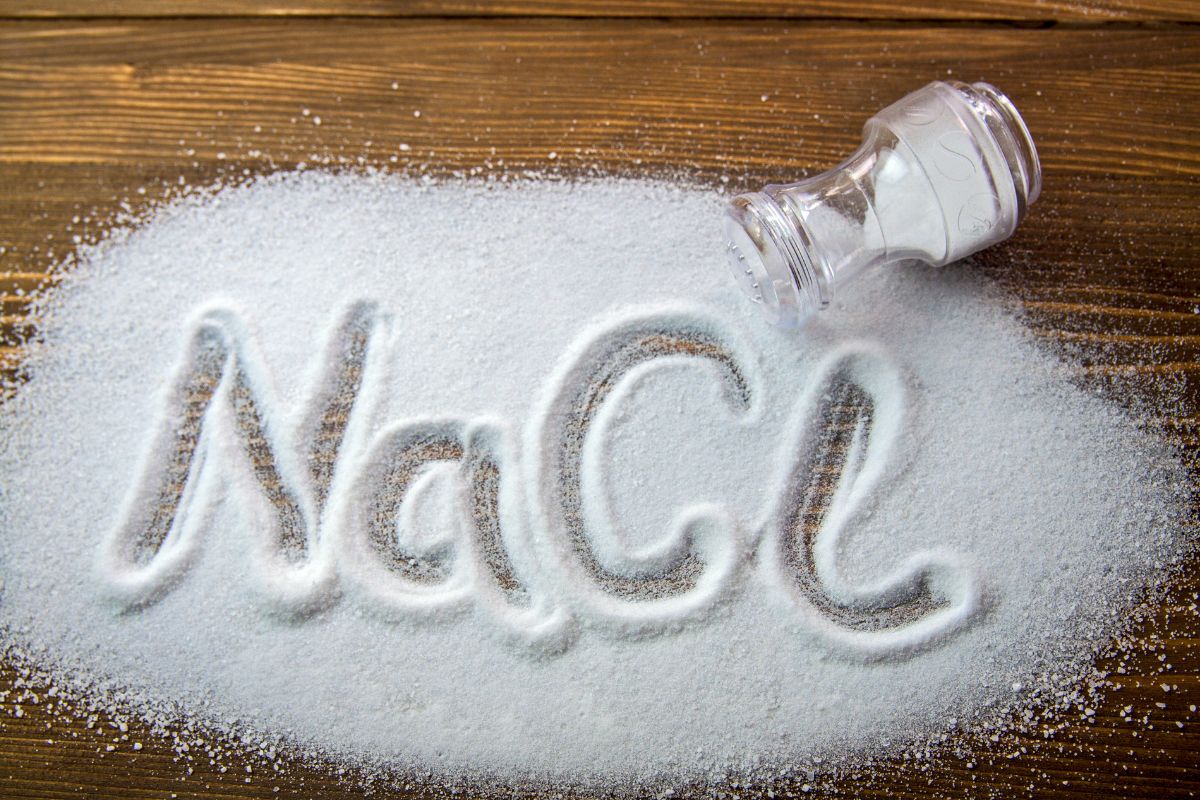
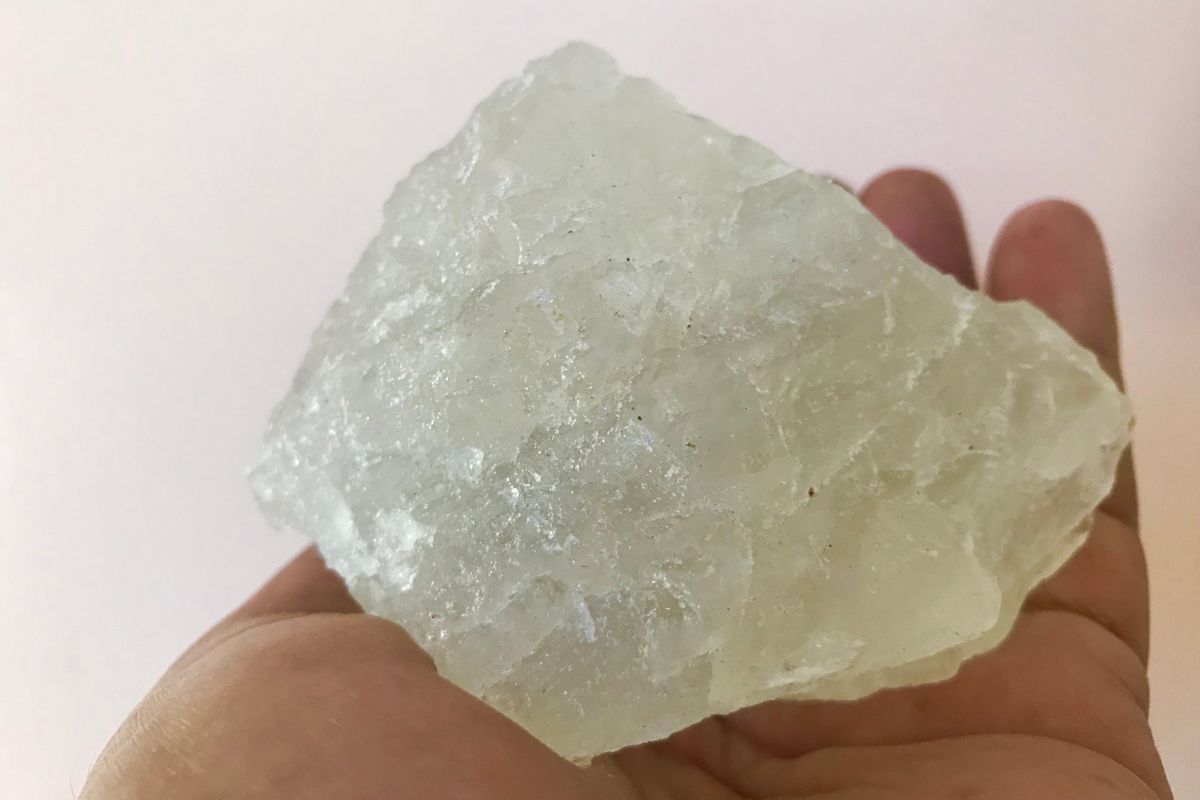
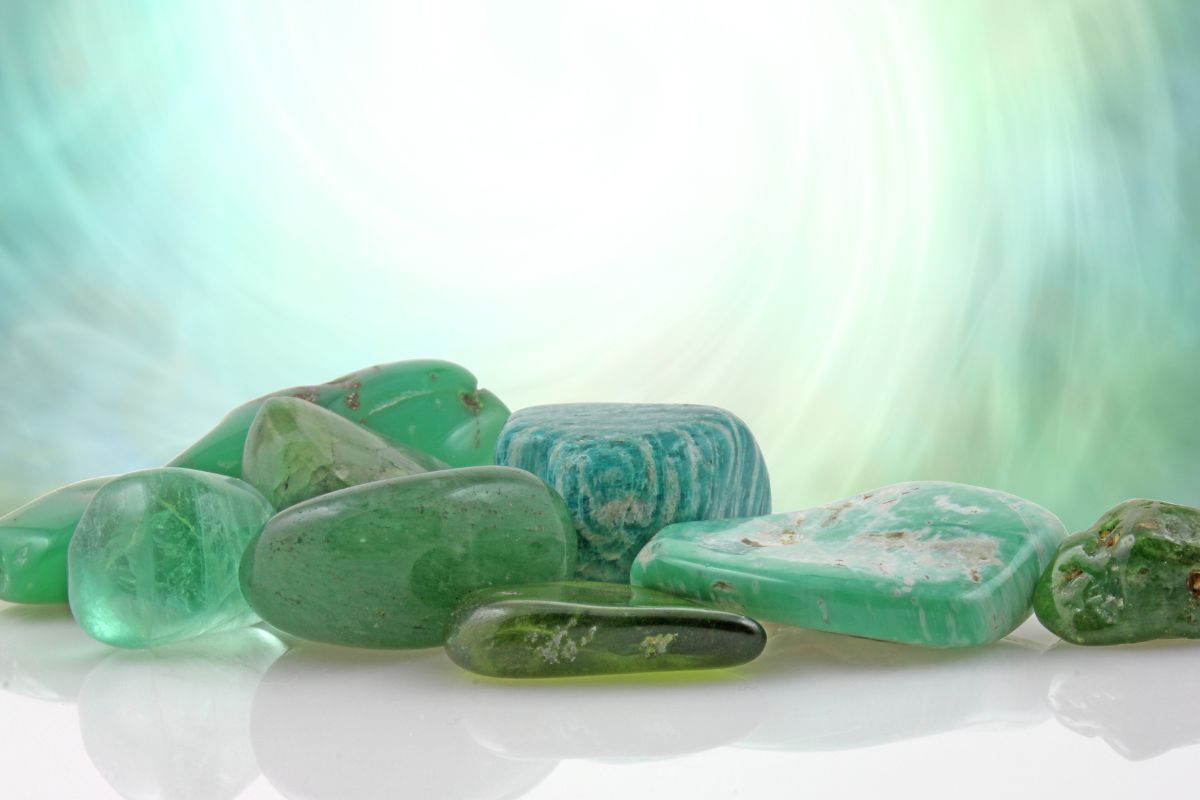
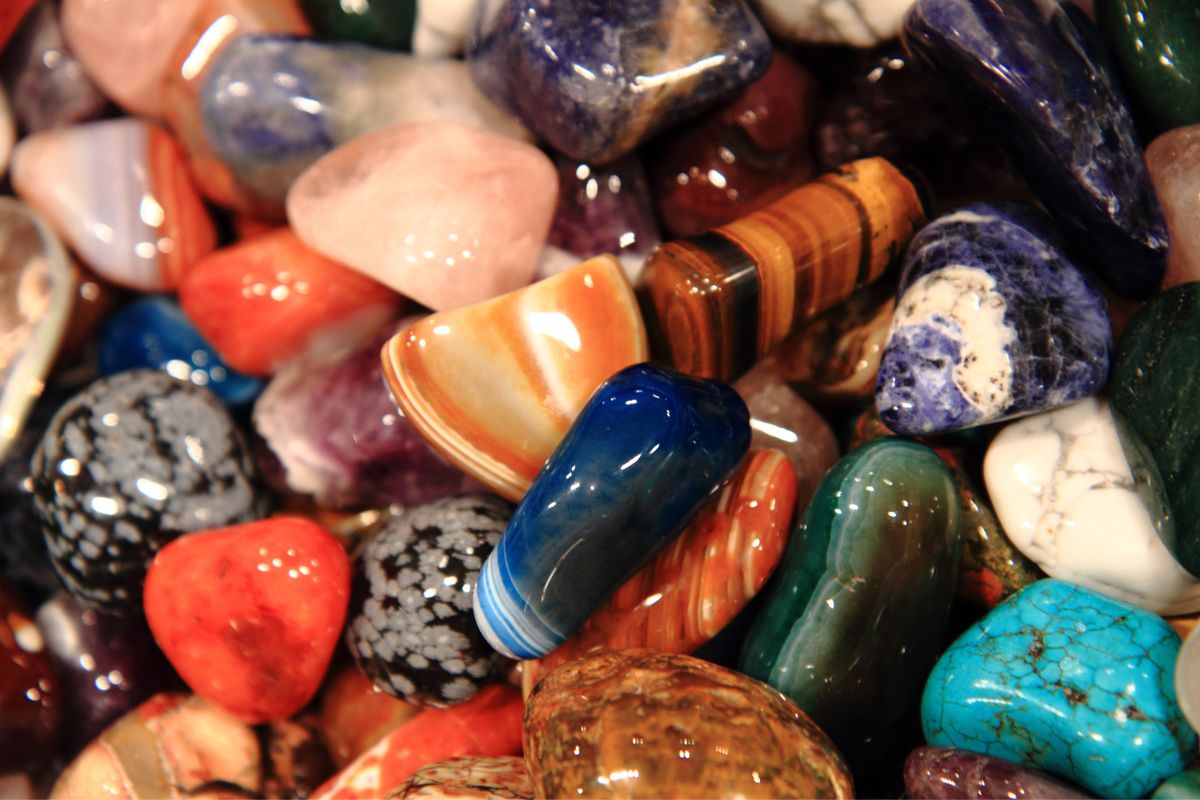
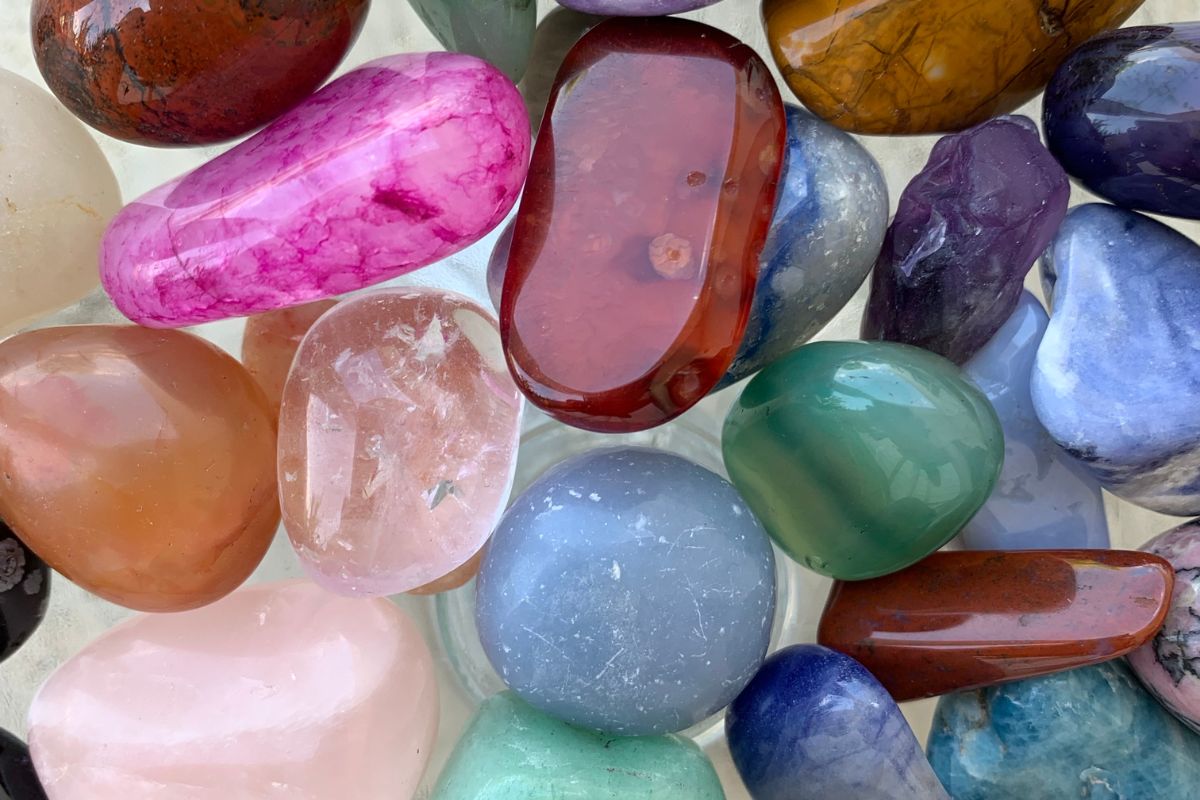
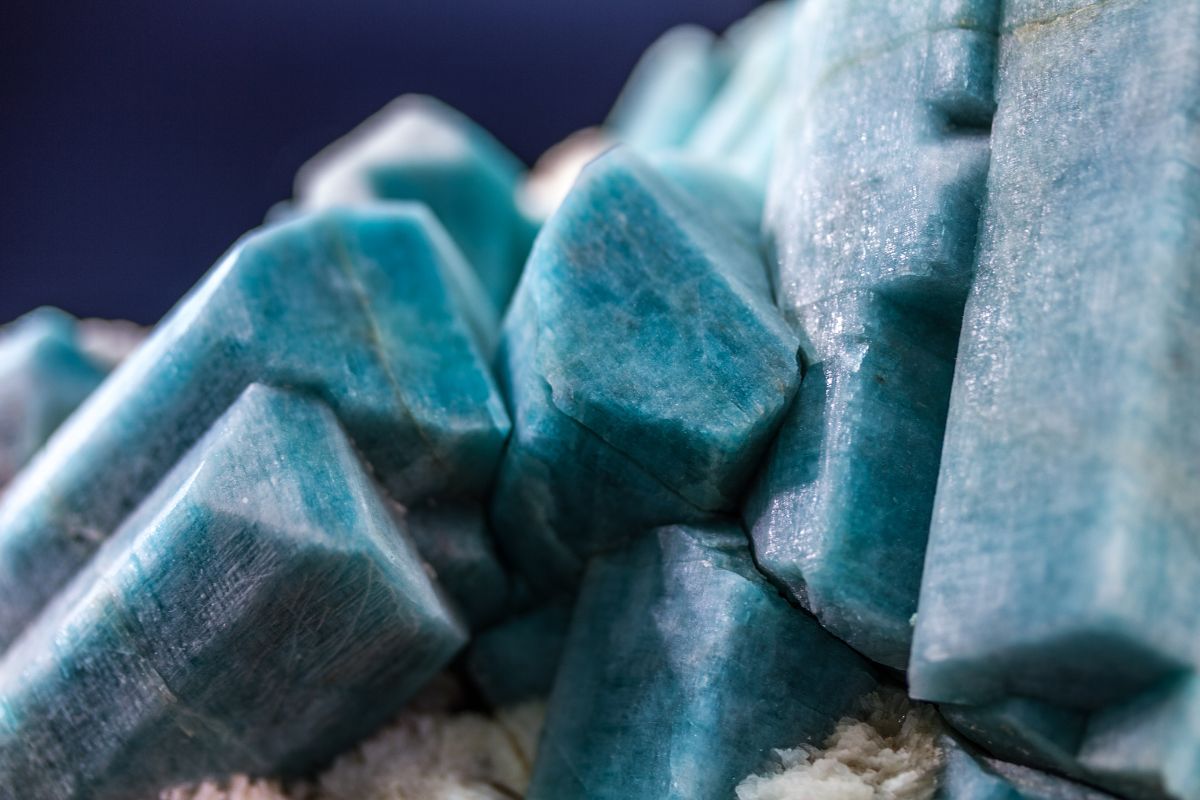
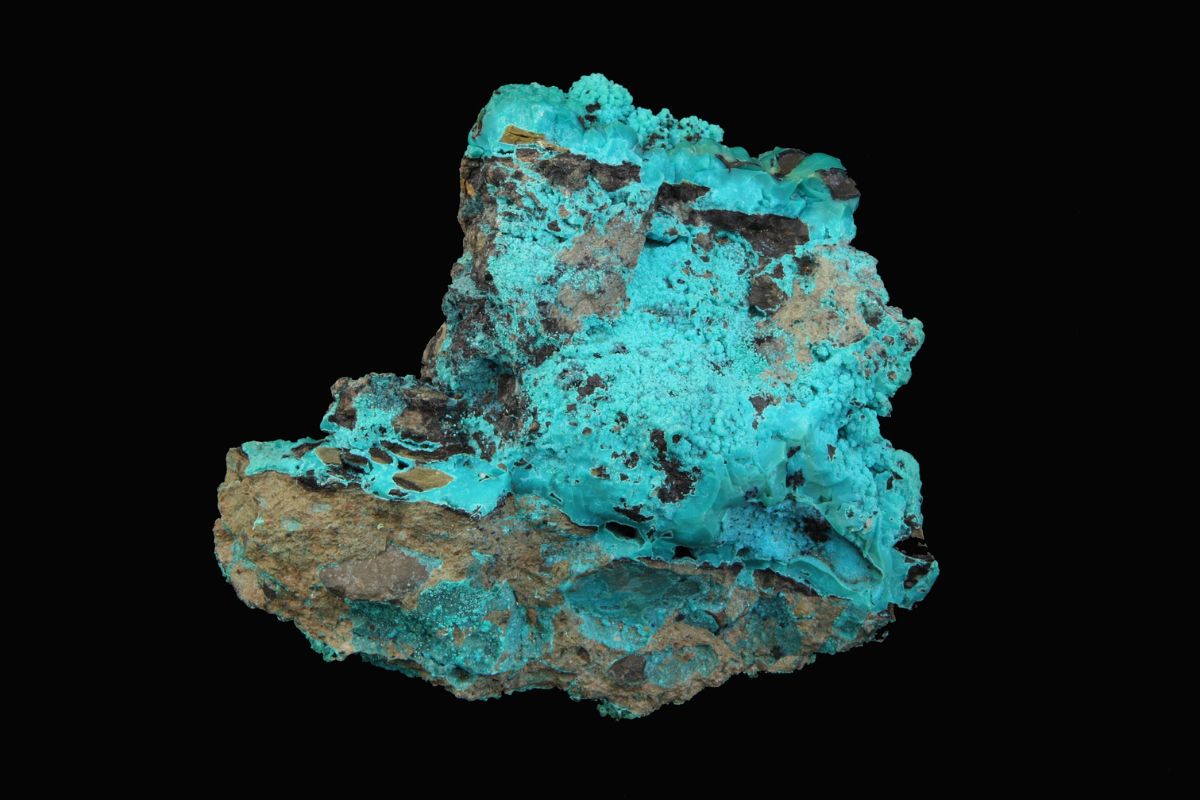
Is there anything more beautiful than crystals? Unique and fascinating, crystals are naturally forming stones that typically contain atoms and molecules that are arranged in a pattern that repeats itself. This means that crystals will always appear in a geometrical shape.
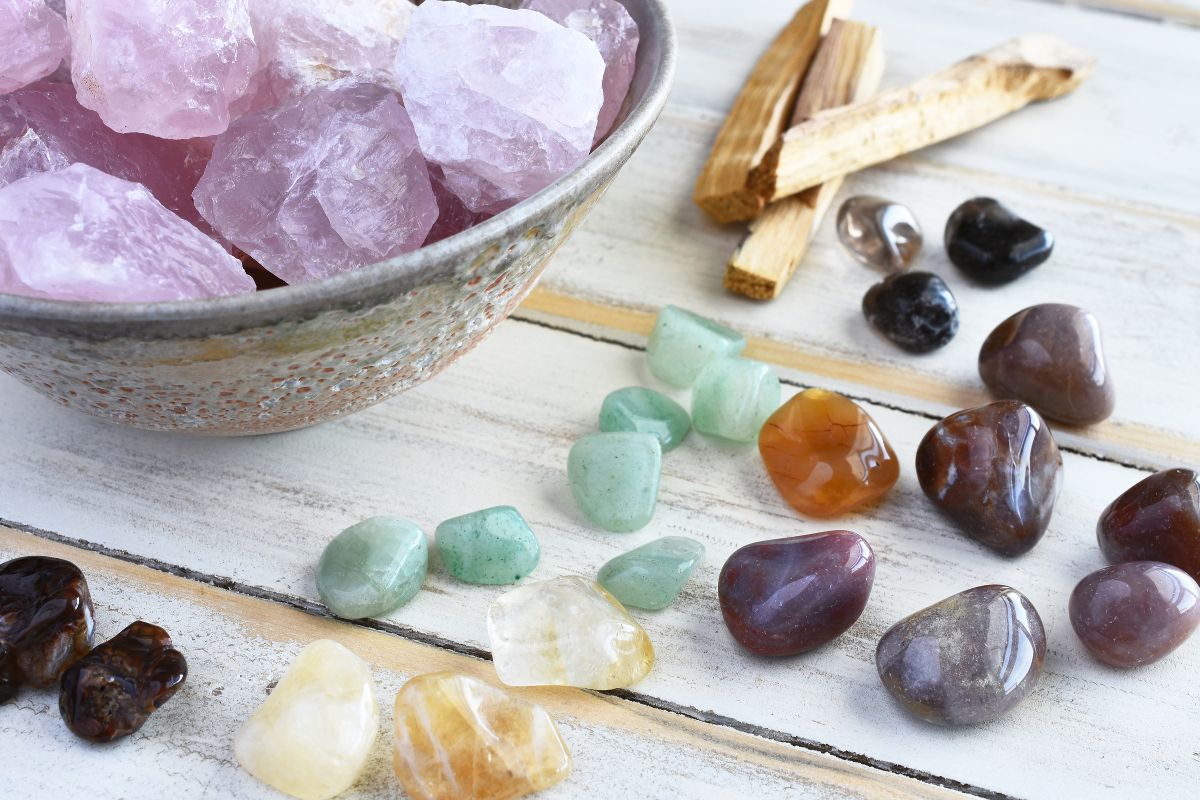
As we’re sure you might already be well aware, crystals can often be very expensive and even hard to come by, but the good news is that crystals can easily be grown at home in just a few simple steps. This is where we come in to lend you a helping hand!
In this article, we are going to be showing you a simple method for making your very own crystals from the comfort of your own home.
So, whether you want to try your hand at making your own crystal ornaments or you want a fun family activity to do on a rainy day – just keep on reading to discover how to make beautiful crystals at home!
How To Grow Crystals From Home
Even though there are many different ways that you can grow your own crystals from home, one of the easiest ways that you can do it is by using a common gardening fertilizer called MAP, which basically stands for monoammonium phosphate.
When used in gardening, this gardening fertilizer has the ability to provide plants with all of the phosphorus and nitrogen that it needs to thrive.
The best part about working with this fertilizer is that it is non-toxic and extremely affordable, and has the ability to create stunning crystal clusters from the comfort of your very own home.
In fact, you might be interested to learn that MAP fertilizer is the most common ingredient found in the majority of pricey crystal growing kits on the market right now (see also ‘How To Grow Your Own Alum Crystals‘).
Along with using MAP, there are a few other ingredients that you are going to need to make sure that you have in order to get the best crystals possible. This brings us to our next section!
Ingredients You’ll Need
If you would like to make your very own crystals from scratch, then you are going to need to make sure that you have the following ingredients to hand, otherwise you are more than likely going to find that you are unable to grow your own crystals.
So, that being said, in order to make your own crystals, make sure that you have the following materials:
- At least one pack of MAP plant fertilizer
- A pot that you can use to dissolve the powder fertilizer
- A jar that you can grow your crystals in
- A filter funnel (alternatively, if you don’t have a filter funnel you can use a coffee filter instead)
- Threads and a fishing line
- A little dish
- A stirring spoon
As a side note, you should be able to find MAP (monoammonium phosphate) in the gardening section at your local grocery store or even at your local gardening and hardware store.
In some instances, MAP can sometimes be referred to as ADP (ammonium dihydrogen phosphate) which is something to keep in mind.
Although, if you are unable to find any at your local store, then you can also opt to order MAP online. As for how much MAP you’ll need?
Well, the answer to this greatly depends on how big you want your crystal to be. As a general rule of thumb, if you want to grow a medium sized crystal, you will need to use around 500g of MAP gardening and plant fertilizer.
Prepare The Solution
If you’re already familiar with MAP, then we’re sure that you’ll already be well aware that it is more of a salt than a powder. For that reason, you’re going to find that it will be able to dissolve extremely easily when it is placed in water.
As a general rule of thumb, around 100ml of water is going to be enough to dissolve around 50g of MAP, which is enough to make a little cluster.
Although, if you want a bigger crystal cluster, you’ll need to use more MAP and for that we recommend hot water to save on time.
In this instance, we recommend that you prepare some hot water and place it in the container or jug you are using. Then add 60g of MAP and store it until it has all dissolved.
After you have finished doing this, go ahead and filter the solution using your coffee filter or funnel (whichever tool you have) before then leaving the solution to cool down.
Grow Your Crystals
After you have prepared your solution, now all that will be left to do is to simply wait for your crystals to finish growing to their final form.
In order to do this, you are going to need to sprinkle a little bit of MAP powder into the solution that has cooled and stir for around 30 seconds – or until you see a crystalline coat forming on the surface of the water.
After you have done this, transfer the solution into the jar that you want the crystals to grow within, and then simply leave it alone for around 1 to 2 hours.
Once you have done this, you should discover that there are some little crystals beginning to form on the solution – this is exactly what we want to happen.
After you have noticed the little crystals, proceed to go ahead and leave alone for around 8 hours, at which point you should have a big crystal cluster waiting for you!
Final Thoughts
There we have it – you’ve made it to the end of our guide to growing crystals at home (see also ‘A Guide To Growing Your Own Sodium Chloride Crystals At Home‘).
Now that you have taken the time to read through all of the above, we hope that we have been able to help you learn how you can go about growing your very own crystals from the comfort of your own home! Thanks for reading, and bye for now.
- 15 Crystals That Cannot Be Exposed To The Sun - January 7, 2024
- Malachite Vs Fuchsite – Benefits And Uses - January 7, 2024
- Malachite Vs. Green Jasper: Benefits And Uses - January 7, 2024

