Have you ever done a science experiment where you wash an old copper penny with vinegar? If you have, you may have noticed that the penny will react with the vinegar and create a cool looking blue substance.
This compound is actually called Copper Acetate, and if you allow it to dry, you’ll find small black crystals in the dish. These are copper acetate crystals.
This simple process creates small copper acetate crystals, however, with larger scraps of copper, you can create larger crystals that come out shiny and sleek, looking remarkably like polished obsidian.
Properties of Copper Acetate Crystals
If you’re looking to grow a copper acetate crystal in the hopes of adding its power to your crustal collection, then you might be disappointed to learn that there are no specific powers attributed to this specific home-made gem.
However, it does look very cool and will add a particular kind of aesthetic to your collection. There’s nothing wrong with adding beautiful crystals to your collection just because they look good.
In a way, if they make you happy to look at, isn’t that a kind of power within itself?
These crystals should come out semi-transparent and shiny, looking for all intents and purposes like obsidian.
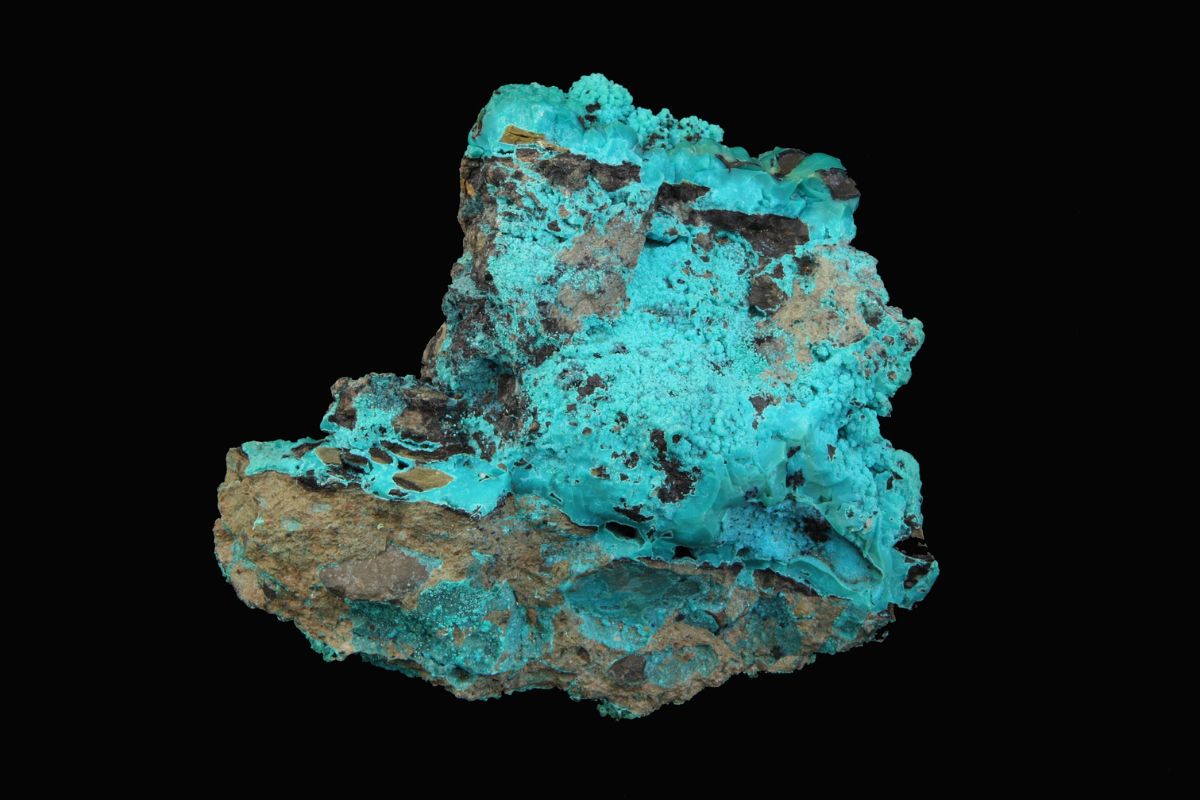
The non crystalline form has been used as a fungicide, a catalyst, oxidizing agent, as well as a turquoise pigment for various art supplies.
There are a lot of interesting chemical applications for copper acetate, however you should be aware that the compound is mildly toxic.
Safety Precautions
So, with copper acetate being mildly toxic, this experiment isn’t suitable for small children (under 10 years of age I would say) because it could be very dangerous for them to ingest it or have their hands in it.
With that being said, once the crystals are created, you will be able to touch them when you need to, just make sure you wash your hands afterwards.
I recommend that you wear gloves during this experiment, and if you’re going to be touching the compound for a prolonged period of time, for example if you’re moving it around a lot when trying to decide where it should go, or if you’re trying to take photos of it – rather be safe, than risk irritating your skin due to extended exposure or leaving residue on your hands when you go to eat.
Growing Copper Acetate Crystals
If you’re looking to grow your own crystals, then this is a great one to try. It’s fairly easy to accomplish and produces incredibly cool looking crystals.
If you can manage this process, you’ll probably be able to manage the other experiments to make different crystals as well, it’s a great hobby to get into if you want to feel like a crazy scientist.
Materials
In order to complete this process, you will need:
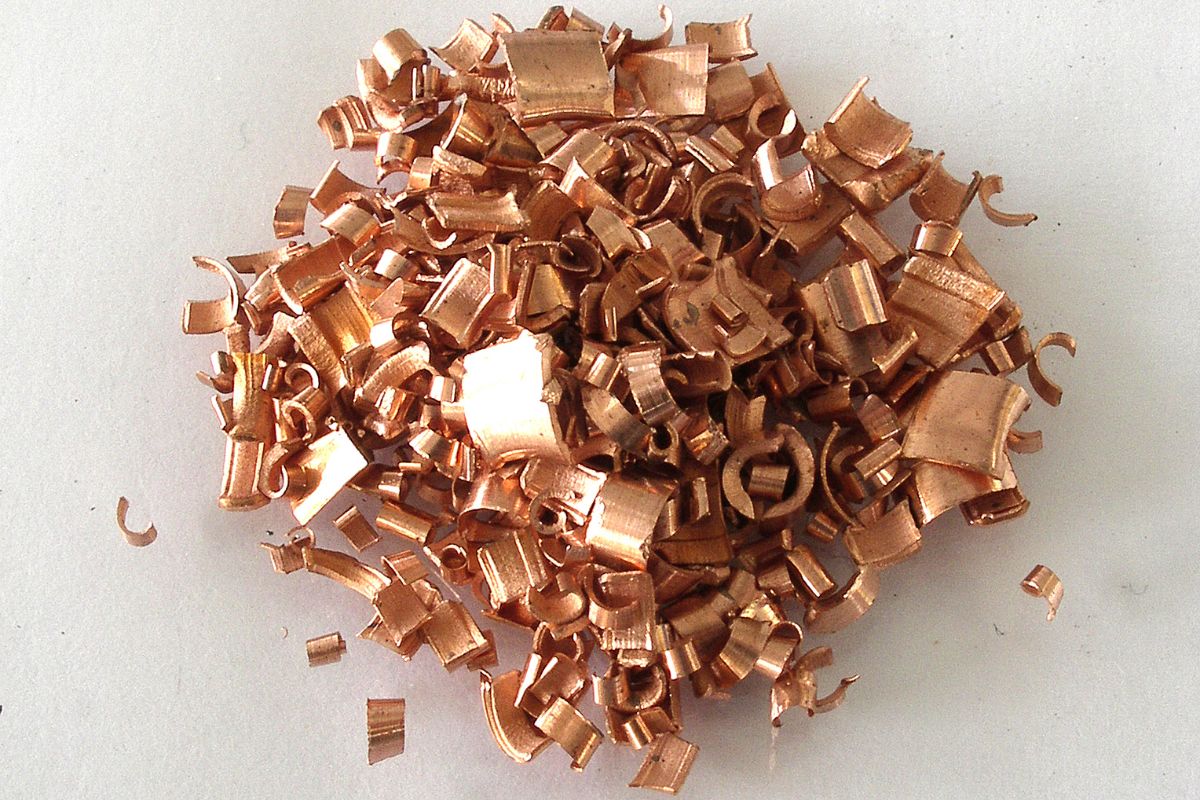
10g of copper (scrap is fine)
1 Bottle of white vinegar
250 ml of hydrogen peroxide, 3%
Two large jars
A large, flat container
A small dish
Nylon fishing line.
I recommend covering your worktop with a plastic sheet, just to make clean up easier. And like I said, you should consider wearing latex gloves whilst you work on this experiment just to make sure that your skin is protected.
Getting Your Copper Ready
For your copper, whatever you can get your hands on is going to be best. If you want to buy pure copper online, that’s fine, however, if all you can get is scrap from pipes or wires, then don’t worry, those are also going to work just as well.
If it’s possible, break your copper down into small pieces. If you’re going to be cutting metal though, make sure that you protect yourself, particularly your eyes.
Safety goggles are a must for this kind of thing. A stray fragment of metal can do some real damage, so wear goggles to save your eyesight.
The smaller the pieces that you can manage are the best because you’re increasing the surface area that is able to react with the vinegar.
Your Vinegar
Now, the regular food-grade vinegar that you can get from the supermarket is absolutely fine for this experiment, however, you will find that the vinegar is pretty diluted, and will therefore take a lot longer for the process to work.
If you feel like speeding things up, you could always use cleaning vinegar which is about 10x more concentrated than food grade.
However, if this is the route that you want to take, please ensure that you definitely wear gloves and protect yourself whilst using it, or it can seriously irritate your skin and eyes if it comes into contact with those parts of you.
The Process
If it’s possible, I recommend that you move your experiment outside or at least leave as many windows open as you can, because the last thing you want is to stink out your home with vinegar fumes.
In a non-metal container, add your 10g of copper metal.
Next, you’re going to pour in your vinegar. Now, if you’re using food-grade, 3-5% stuff, then you’re going to want to use 400ml.
However, if you’re using more concentrated vinegar, then this amount will vary. For example, twice as concentrated vinegar (say around 10-15%) will only need half the amount, so 200ml. So on and so forth.
Once you’ve added your vinegar, pour in 250ml of 3% hydrogen peroxide. This chemical is pretty easy to get a hold of in pharmacies, however it can also be purchased online if you need to.
It’s a great cleaner and antiseptic, so it’s worth getting more than you need to keep at home.
Hydrogen peroxide will oxidize the copper into copper oxide pretty quickly, which will fizz as it releases the gases. This will probably smell a lot, so be sure to warn anyone else in your home that you’re going to be doing this experiment.
I recommend that you add the peroxide slowly, this way the reaction won’t get too vigorous (vinegar-ous?) and overflow out of the container.
Although you are able to use a higher concentration of vinegar if you want, you shouldn’t use more than a 3% hydrogen peroxide, because the result will be a messy, brown precipitate, instead of sleek black crystals.
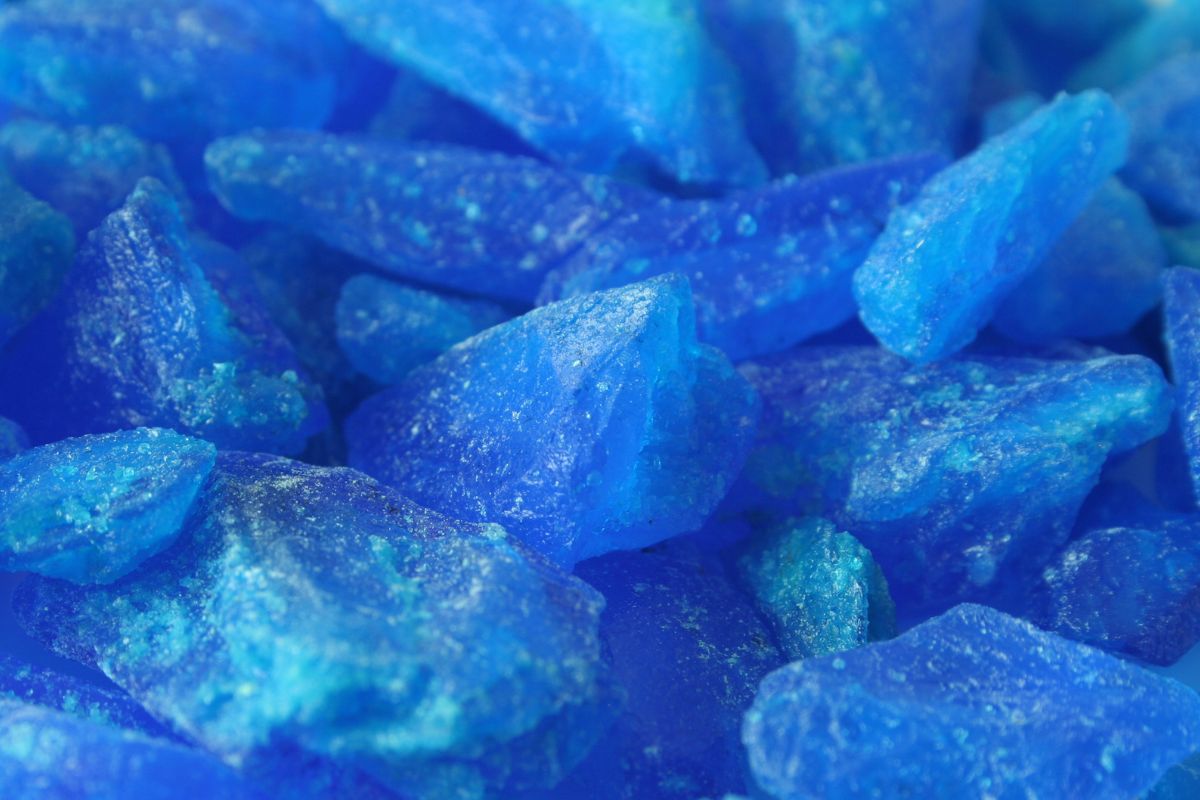
It will only take a few minutes before you can see the solution start to turn blue. Once your copper has been oxidized by the hydrogen peroxide, it will be able to react with the vinegar and form copper acetate.
Once it’s turning to blue, you know that the process is taking place. Over time, this compound will turn darker and darker, until it’s nearly opaque.
Now We Wait
Once you’re satisfied that your copper acetate solution is forming nicely, you have a couple of options.
The one that is best for you will depend on the concentration of your acid (the vinegar) and the equipment that you have to hand.
The fastest way to form copper acetate crystals is to warm the solution on a hot plate at about 160 °F (70 °C) for an hour. Heating becomes the catalyst and speeds the process up significantly.
That said, this reaction will stink and fill your home with vinegar fumes – not nice to breathe in. If you want to follow this step, you’ll need to do it outside, or under a fume hood if you happen to have one.
IMPORTANT – If you have used a strong concentration of acid, say a cleaning vinegar, then you must not put this solution on a hot plate.
The reaction can very easily get out of control and end up as a hazard. You’ll really want to make sure that you take all the precautions that you need when heating up acid.
If you’re deciding against using the hot plate. Then you can simply leave the solution to do its thing. The process will still take place without a catalyst, it will just take longer.
In this case, if you’ve used a higher concentration of acid, your solution should be ready in about 2 days. On the other hand, if you’ve used a lower, food-grade concentration of vinegar, then it could take up to a week before the solution is done.
Although that might feel like a long time, believe me, the end result is worth it.
Whatever way you choose to set the solution, it should have ended up a very dark shade of blue. The whole thing will be copper acetate now, meaning that all we have to do in order to get crystals is to evaporate the excess water.
You’ll want to transfer the solution, along with the copper, into a large, flat-bottomed container that is wider than it is tall – again, we’re wanting the surface area.
Once you have your container, place it outside, but make sure that it is in the shade.
This is something that is really important, because if you leave acid out in the sun, we have the same issues that we considered when thinking about the hot plate – it’s a bad idea to let acid boil.
More Waiting
There’s a lot of waiting in the crystal growing game, however, the best crystals come from patience.
Once your solution is outside, wait for signs that the solution is reaching total saturation, at which point, the copper acetate crystals will start to form.
At least this might just appear to be small flakes on the walls of the tub. From there, it won’t take long for black specs to start to form on the surface of the solution or on the copper.
These are copper acetate crystals, and you’re now ready to move onto the next step!
Congrats if you’ve made it this far. If things don’t seem to go right, don’t worry – we have a troubleshooting bit at the end of here you can jump to.
Growing Your Copper Acetate Seeds Into Full Crystals
This previous process should leave you with about 250ml of a fully saturated copper acetate solution.
To start growing these crystals into something more substantial, filter out 200ml of your solution into a jar, close it, then leave it aside until later.
The rest of your solution (the part with your crystal seeds) can be transferred into a small dish with an extra 1 ml of vinegar.
Then leave it somewhere to be left undisturbed at room temperature or cooler for a few days.
If you have a pantry, this would be perfect, but the inside of a draw or cupboard also works. During this time, your tiny crystals will start to grow.
After a week, you’ll find that the crystals have started to get a lot bigger, but they’re still pretty small.
Not only that, but they’ll be growing on the bottom of this dish, meaning that they will be completely flat. If this is what you’re going for, then great!
However, more people want a particular shape for their crystals. But don’t worry! That’s where the nylon fishing line comes in.
Shaping Your Crystal
To fix the issues of flat crystals, cut about 20 cm of nylon fishing line, and tie one end of it to a stick. The other end can go into the solution.
Move the line around a bit until it’s neatly touching a good-looking crystal – you can choose the biggest if you want to, but whatever is convenient.
You can also repeat this process as many times as you want to if you want multiple crystals from the same batch.
Once your lines are in contact with the corresponding crystals, leave them alone for at least 24 hours. At this point, the crystal will have grown around the fishing line, allowing you to lift out the crystal easily without having to touch it.
You can now remove the crystal from the large container and suspend it in that 200 ml of saturated solution that you stored earlier. Place the stick over the rim of the jar and let the crystal sit in the solution.
Now you just have – you guessed it – wait again.
Helping Your Crystal Seed Continue To Grow
Make sure that you cover your jar with plastic wrap or paper in order to slow down evaporation and to keep out dust.
Dust or evaporating too quickly could lead to your crystal cracking, giving it imperfections or allowing other, parasitic crystals to form.
Your crystal will probably start off so small that it’s unable to absorb the excess copper that wants to form within the solution, meaning that you’ll probably find stray copper acetate crystals growing along with your prime crystal seed.
If this happens, just filter the solution into another jar and transfer the crystal. If you find that some crystals are forming on the fishing line, you’ll want to remove these in order to keep your crystal single and sleek.
That said, if you prefer the look of crystal clusters, then feel free to leave them.
The Final Waiting Game
From here, keep checking your solution and filtering out unwanted crystals about once a week until you’re satisfied with the size of your crystal.
If you notice that the water level is decreasing to the point where your crystal is no longer covered, you’ll need to prepare some more fully saturated copper acetate solution following the previous method again.
Once you’re happy with the size of your crystal, remove it from the solution and dry it with some tissue or with filter paper.
IMPORTANT – Don’t wash your crystal under water, because copper acetate is soluble in water. You don’t want to watch what could easily be 6 months of work literally go down the drain.
Storing Your Crystals
If you want to preserve the sleek black look of your crystal, then you will want to coat them either in clear nail polish or varnish, because these crystals can dehydrate.
If you leave them out in the open for a couple of months or in the heat, they will dehydrate and turn blue – now, I actually think that dehydrated crystals look very cool, however it does impact the structure of the crystal, meaning that they’re a lot more fragile.
If you want to avoid this, like I said you can either coat them, or you can keep them in an airtight container – they look very cool in a stored mason jar.
Troubleshooting
If you find that you don’t think that your crystals are forming properly, or are worried about something going wrong, don’t worry, I’ve tried to address all of the issues I can think of in this next section:
Painfully Slow Reactions
If you feel as though your reaction is taking even longer than I said that it would take and you feel like something might be wrong, try not to panic or assume that it’s a lost cause.
There are a lot of factors that will contribute to the slow pace of your reaction.
It could be to do with the size of your copper pieces (the smaller, the better), or you could live in a colder environment, in which case you should try to keep your solution somewhere insulated or warm – a shed is going to be better than just being left outside, for example.
Plus, if your copper is new or coated, then it’s not going to react very well. Old, tarnished, and uncoated copper will react quicker.
Why Is It Cloudy?
If you’ve noticed a cloudy mixture in your solution then you’ll want to get on top of it. If your copper acetate solution isn’t acidic enough, then it can cause precipitation.
This can eventually form into a weird kind of slime – not beautiful crystals.
To prevent this, add a little more vinegar. If you have the high concentrated stuff, just add a couple ml and it should clear again within the hour.
No Crystals?
If you feel like there are no crystals when there should be, then your solution just must not be saturated enough. So long as it’s blue, the reaction will be taking place, it’s just a slow one.
Continue letting the solution evaporate, and eventually you will see crystals, it’s a patience thing really.
Final Thoughts
This is not a quick process, and due to the mildly toxic nature of copper acetate, it’s not suitable for jewelry. However, these are incredibly impressive looking, beautiful crystals that are absolutely worth the long wait.
Be very gentle with them and don’t try to polish them because they are brittle and can chip easily. Coating them with nail polish will help them resist wear and tear much better.
Hi, my name is Andrea Daehma and I have been collecting and using crystals in my everyday life for just over six years now.
I have my own collection of crystals gracing my house, several for every scenario I could think of.
Learning about crystals has truly changed my life, and I want to help others turn their life around too. Please enjoy my website and find your own small stone to begin your crystal journey with!