Incense has been used for thousands of years in religious and spiritual practices, as well as for medicinal and therapeutic purposes. Its aromatic smoke has been said to have the ability to purify the air, enhance mood, and promote relaxation and meditation.
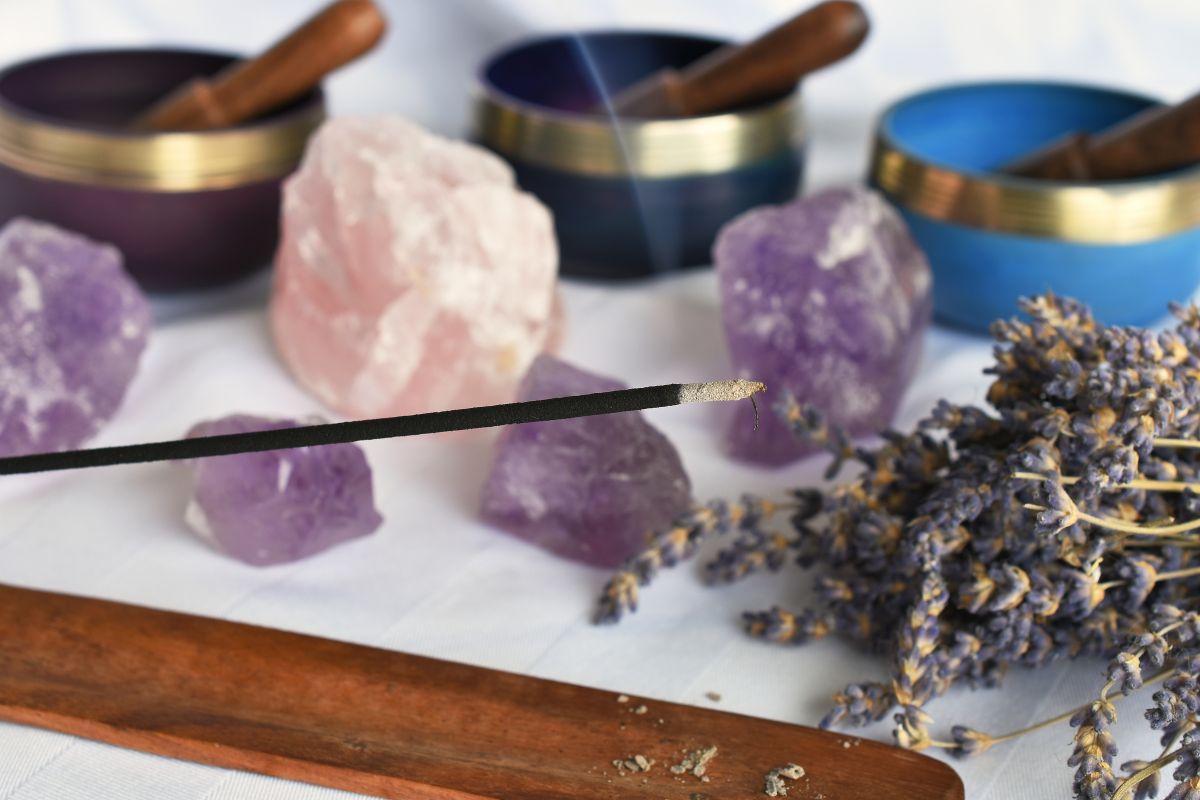
Incense is still widely used today, but many store-bought incense products contain synthetic fragrances and other harmful ingredients.If you’re looking for a more natural and sustainable way to enjoy incense, making your own can be a fun and rewarding experience.
Not only will you be able to customize the scent to your liking, but you’ll also know exactly what’s in the incense you’re burning. Plus, making your own incense can be a great way to connect with nature and the plant world.
In this article, we’ll walk you through the step-by-step process of making incense at home using natural ingredients like herbs, resins, and essential oils.
We’ll cover different methods of making incense sticks, cones, and loose incense, as well as tips for storing and burning your homemade incense.
With just a few simple ingredients and some patience, you can create your own unique scents for relaxation, meditation, or aromatherapy. So let’s get started!
What Is Incense?
If you’ve never heard of incense before, then you’re probably curious as to what it is, so allow us to explain more about it!
Incense is a fragrant substance that is burned to release aromatic smoke, often used in religious or spiritual ceremonies, as well as for medicinal, therapeutic, or aesthetic purposes.
It is typically composed of natural materials such as plant resins, herbs, and essential oils, and has been used for centuries across cultures and traditions to create a sense of calm, purification, and connection to the divine.
The practice of burning incense can be seen as a way to bridge the physical and spiritual worlds, invoking a sense of transcendence and heightened awareness.
Whether used for personal meditation, communal worship, or simply to create a pleasant atmosphere, incense remains a powerful tool for enhancing our sensory experience and elevating our mood.
How To Make Your Own Incense At Home
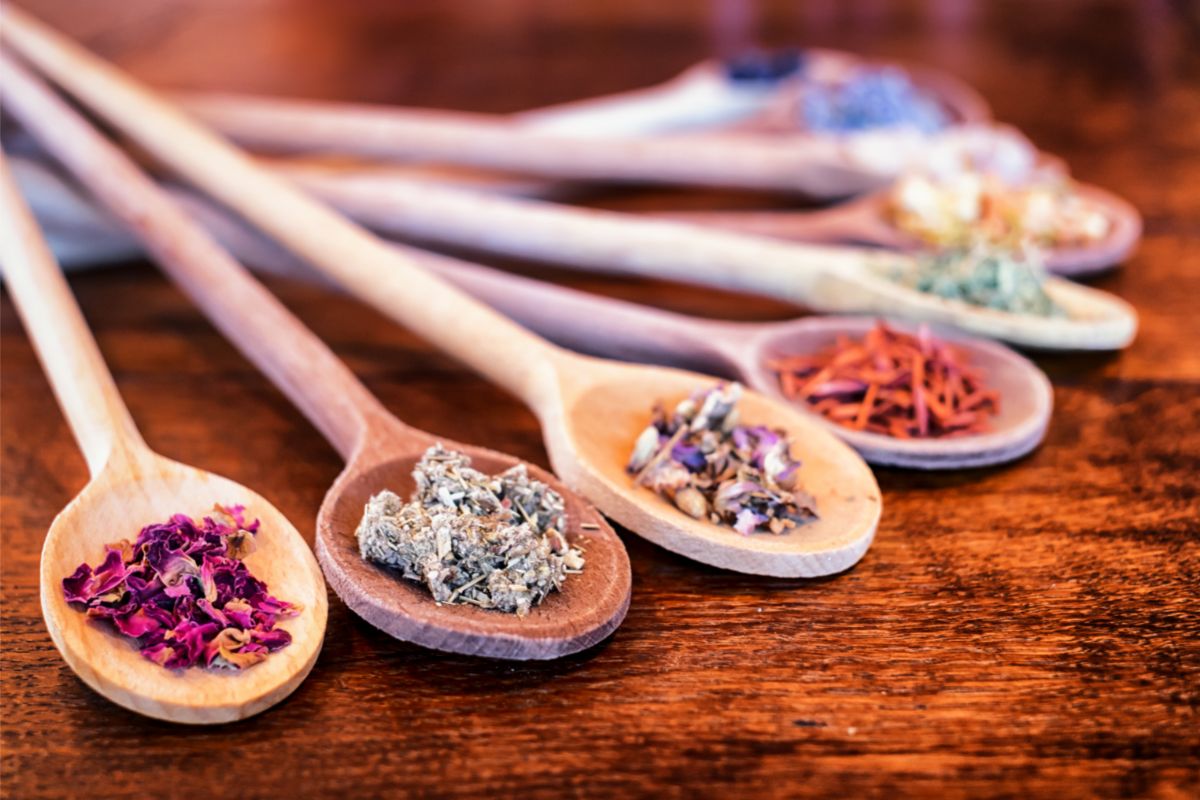
Here’s a step-by-step guide on how to make your own incense at home:
Materials needed:
- Mortar and pestle (or a coffee grinder)
- Measuring spoons
- Bamboo skewers (if making incense sticks)
- Dried herbs, spices, resins, and/or essential oils of your choice
- Binder powder (optional, to help hold ingredients together)
- Water
- Bowl
- Wax paper
- Baking sheet
- Oven (if making loose incense)
Step 1: Choose your ingredients
Select the herbs, spices, resins, and/or essential oils you want to use for your incense. Some popular options include frankincense, myrrh, sage, lavender, sandalwood, and cinnamon. You can also mix and match to create your own unique scent.
Step 2: Prepare your ingredients
If using resin, crush it into small pieces using a mortar and pestle (or a coffee grinder). If using herbs, grind them into a fine powder. Mix your ingredients together in a bowl, adding binder powder if desired.
Step 3: Add water
Slowly add water to the mixture, stirring constantly, until you reach a dough-like consistency that can be molded without crumbling. You may need to adjust the amount of water or binder powder depending on the specific ingredients you are using.
Step 4: Roll the incense
Take a small piece of the dough and roll it into a thin stick, if making incense sticks. If making cones, shape the dough into a cone shape. If making loose incense, roll small balls of the dough.
Step 5: Let it dry
Place the incense sticks or cones on wax paper and let them dry for 24-48 hours in a cool, dry place. If making loose incense, place the balls on a baking sheet and bake at 200°F for 30-45 minutes, or until dry.
Step 6: Burn your incense
Once your incense is dry, it’s ready to use! If making incense sticks, insert bamboo skewers into the dried sticks and light the end. If making cones, place them on a heat-resistant surface and light the tip.
If using loose incense, place it in a heat-resistant dish and light the edges. Enjoy the pleasant aroma and benefits of your homemade incense!
What Are The Benefits Of Making Your Own Incense?
You might be wondering what the benefits of making your own incense are, especially when incense is so readily available from a number of sources. But there are actually quite a few reasons why you should consider making your own incense at home:
Control Over Ingredients
When making your own incense, you have complete control over the ingredients that go into it. This allows you to avoid potentially harmful chemicals and synthetic fragrances that may be present in commercial incense products.
Customization
Making your own incense allows you to create a unique scent that suits your personal preferences. You can mix and match different herbs, spices, and essential oils to create a scent that is tailored to your specific needs.
Cost-Effective
Homemade incense can be significantly less expensive than store-bought varieties, especially if you already have some of the ingredients on hand.
Therapeutic Benefits
Depending on the ingredients used, homemade incense can have a range of therapeutic benefits. For example, lavender can promote relaxation, while frankincense can promote spiritual awareness.
Sustainable
Making your own incense at home is a more sustainable option than buying commercial incense, as it allows you to reduce waste and packaging.
Creative Expression
Making incense at home can be a fun and creative process that allows you to express yourself and tap into your creativity. It’s a great way to unwind and de-stress while creating something beautiful and useful.
Final Thoughts
In summary, making your own incense at home offers benefits such as complete control over ingredients, customization, cost-effectiveness, therapeutic properties, and sustainability.
However, it’s important to take safety precautions and research ingredients to avoid potential harm. Making incense at home can be a way to express creativity and enhance spiritual practices.
Try it out to see what unique scent you can create and enjoy the rewarding and therapeutic experience.
- 15 Crystals That Cannot Be Exposed To The Sun - January 7, 2024
- Malachite Vs Fuchsite – Benefits And Uses - January 7, 2024
- Malachite Vs. Green Jasper: Benefits And Uses - January 7, 2024

